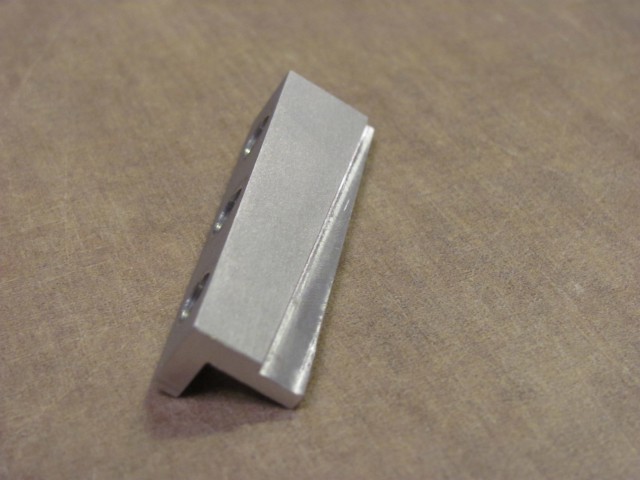
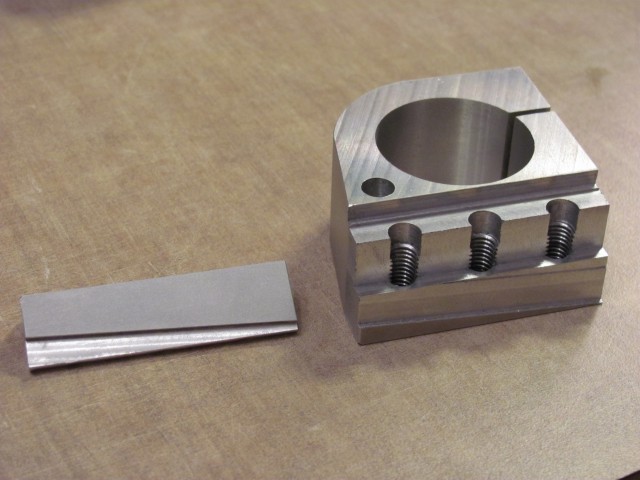
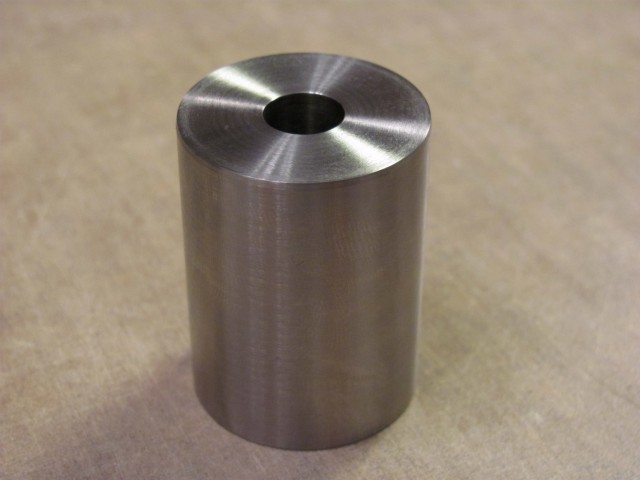
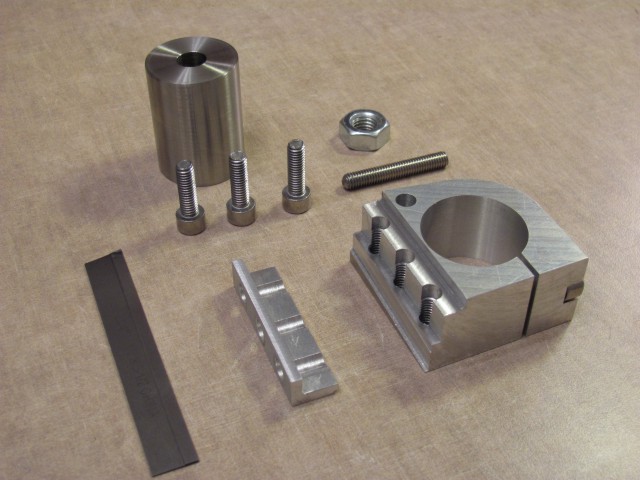
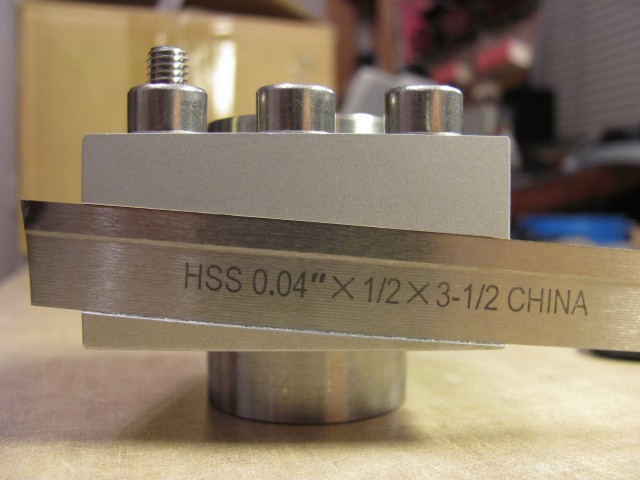
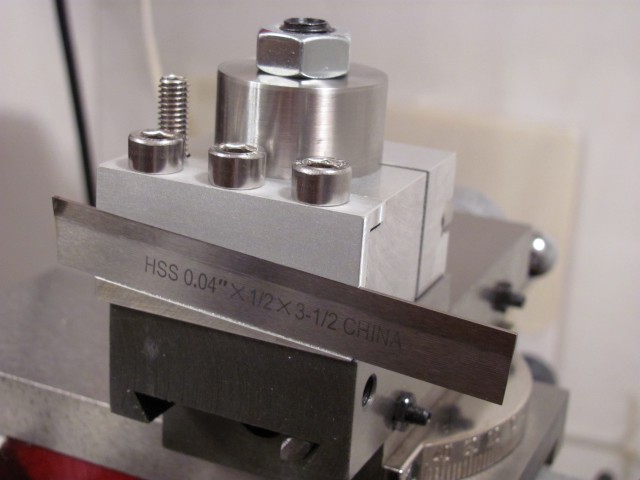
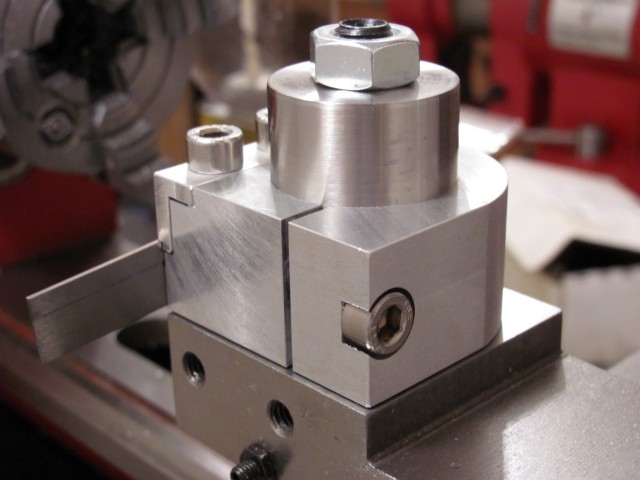
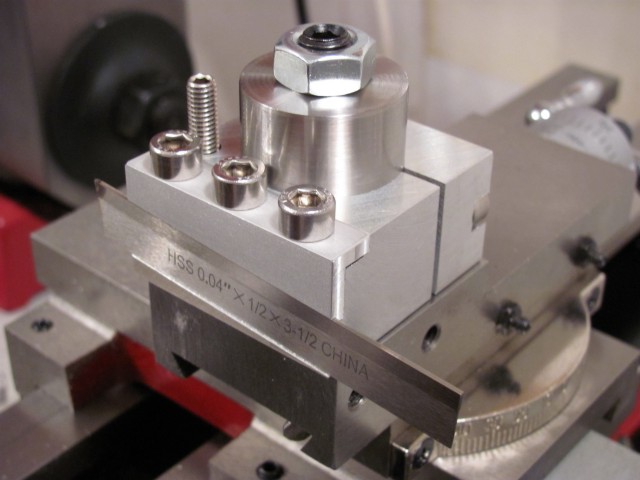
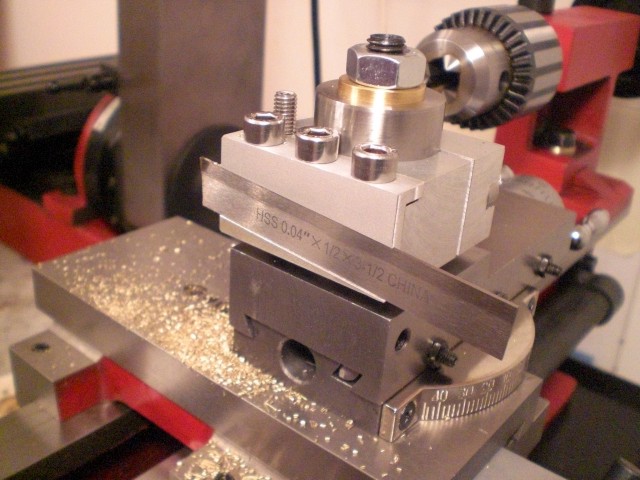
Parting Tool Holder
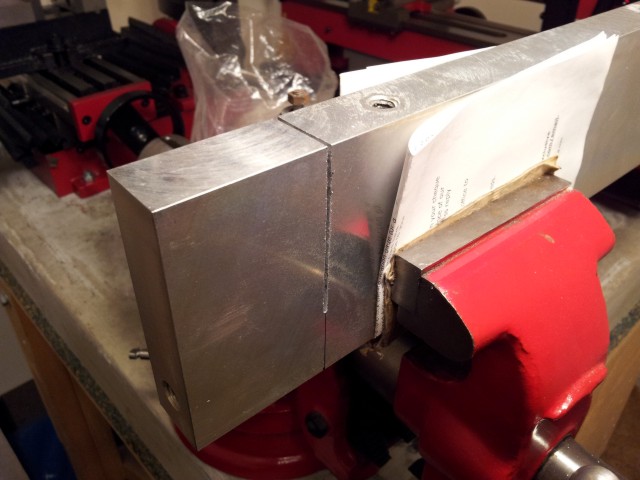
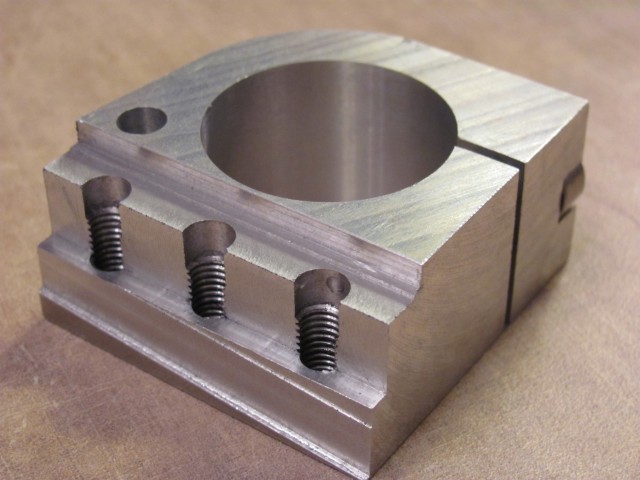
I was inspired to make this angled parting blade holder after seeing something similar on the Tools and Mods website. It’s based on the Norman Patent cylindrical tool post design and the idea of a positive rake angle came from the author of the Tools and Mods website.
The design has some disadvantages, such as:
- The cylindrical column means you have to align the blade perpendicular to the lathe axis every single time you mount it. If anyone has a suggestion on how alignment can be done more easily, I’d love to hear from them.
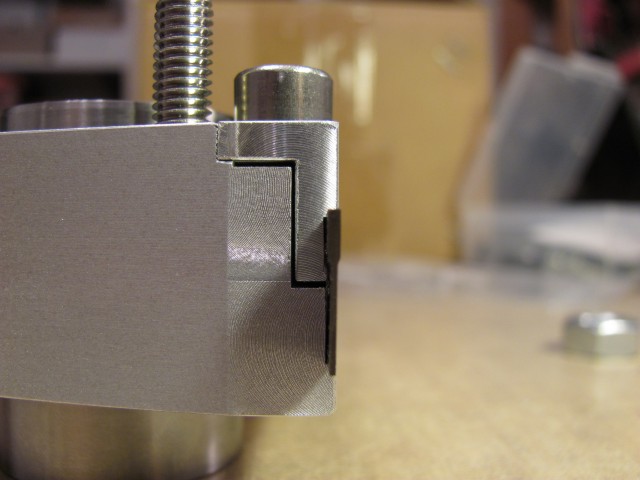
- Because the blade sits at an angle, the height of the tip changes if you extend or retract the blade. This means you have to readjust the height of the tool holder (and then of course you also have to make the blade perpendicular to the lathe axis again)
- If you extend the blade too far, you won’t be able to lower the tool holder enough for the tip to be at the same height as the lathe axis. The only way around this is to use a thinner compound slide, or replace the compound slide with some kind of spacer that’s thinner.
...But there are also advantages:
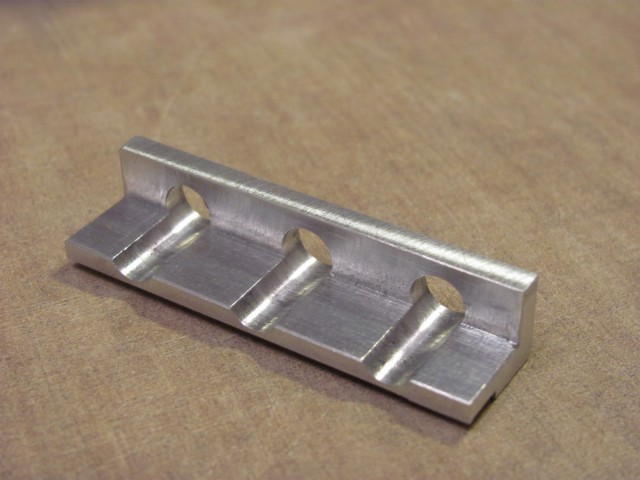
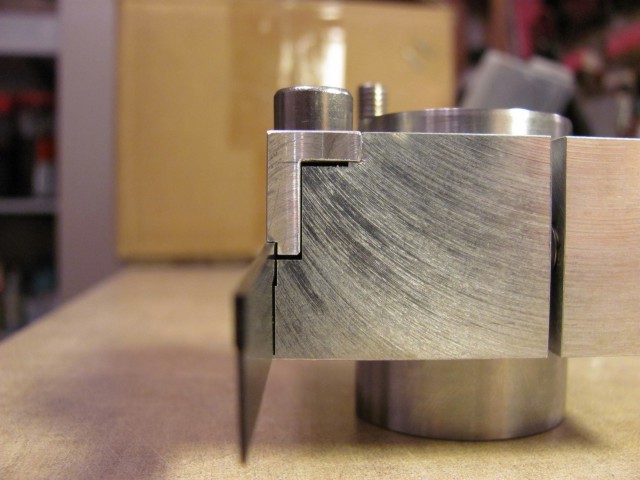
- The 4.5 degree positive rake on the blade seems to make cutting much easier
- The tool holder is much more rigid than the A2Z CNC tool holder from Little Machine Shop
- The blade is held fairly close to the cylindrical column, so tilting forces on the carriage are minimized. This is especially true if you use the Drilled and Milled compound rest bottom from Little Machine Shop.
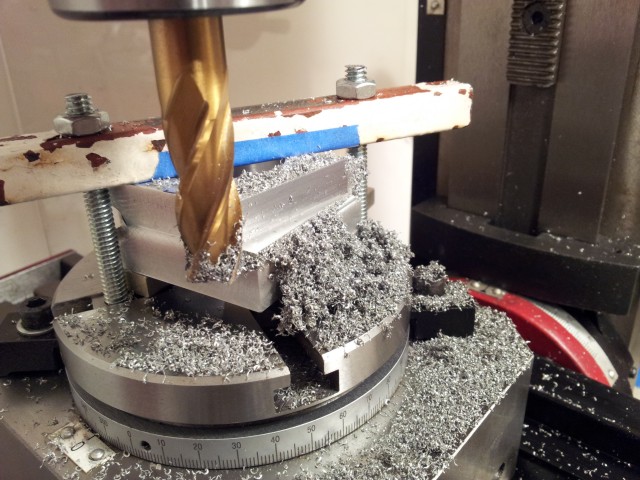
Overall, I’m happy with the way it turned out, but I found it a bit complicated, requiring several machining operations. But then again, that’s why we do this kind of thing, right?
